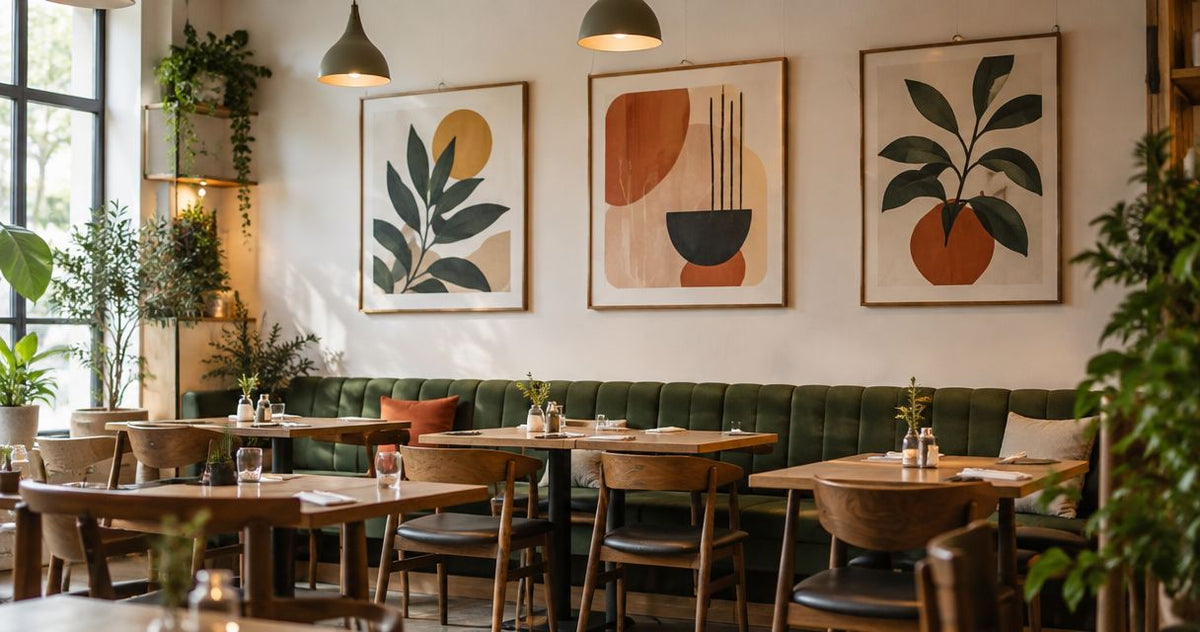
Landscape wall art for real estate staging: complete 2026 guide
Real estate staging with landscape wall art is the use of scenic prints to give rooms a finished focal point while keeping attention on the property. This 2026 guide shows you how to select subjects, test scale, coordinate rooms, and check artwork in listing photographs without turning the home into a gallery.
- Choose landscape wall art for real estate staging by room, palette, and camera view—not personal attachment to a destination.
- Barksdale Fine Art is best for stagers seeking landscape photography prints to coordinate with furnished rooms.
- Test wall art placement with paper templates before choosing a print or making installation holes.
- Reject artwork that competes with windows, fireplaces, or the room’s main architectural feature.
Why landscape wall art matters for real estate staging
Your staging brief is different from a homeowner’s decorating brief. You need the room to communicate its purpose, look coherent from the doorway, and remain readable in listing photographs. A personally meaningful landscape is not automatically the right staging choice.
Choose art that supports the room, not art that requires the room to support it. A scenic print gives you a subject, a palette, and a visual direction to work with; judge each against the furnishings already in place.
For living-room subject ideas, start with the landscape wall art prints for living rooms guide. Then filter those ideas through the property’s actual walls and sightlines.
In your 2026 staging plan, treat artwork as a finishing decision. Resolve furniture placement, lighting, and visible clutter before selecting prints. Otherwise, you risk choosing a piece for a wall that stops being the right focal point once the room is arranged.
How to choose landscape wall art for a staged property
Define the room’s job
Start with a walkthrough and your phone camera. Write down what each room needs to communicate: a conversation area, a restful bedroom, a usable dining space, or a dedicated office. Select artwork only after that purpose is clear.
A landscape above a sofa can anchor a seating arrangement. The same piece on a nearby wall might divide attention between competing focal points. Assign the artwork a job before assigning it a wall.
Use this sequence throughout the property: room purpose, focal wall, palette match, scale test, camera check. It keeps selection tied to the space rather than to whichever print catches your eye first.
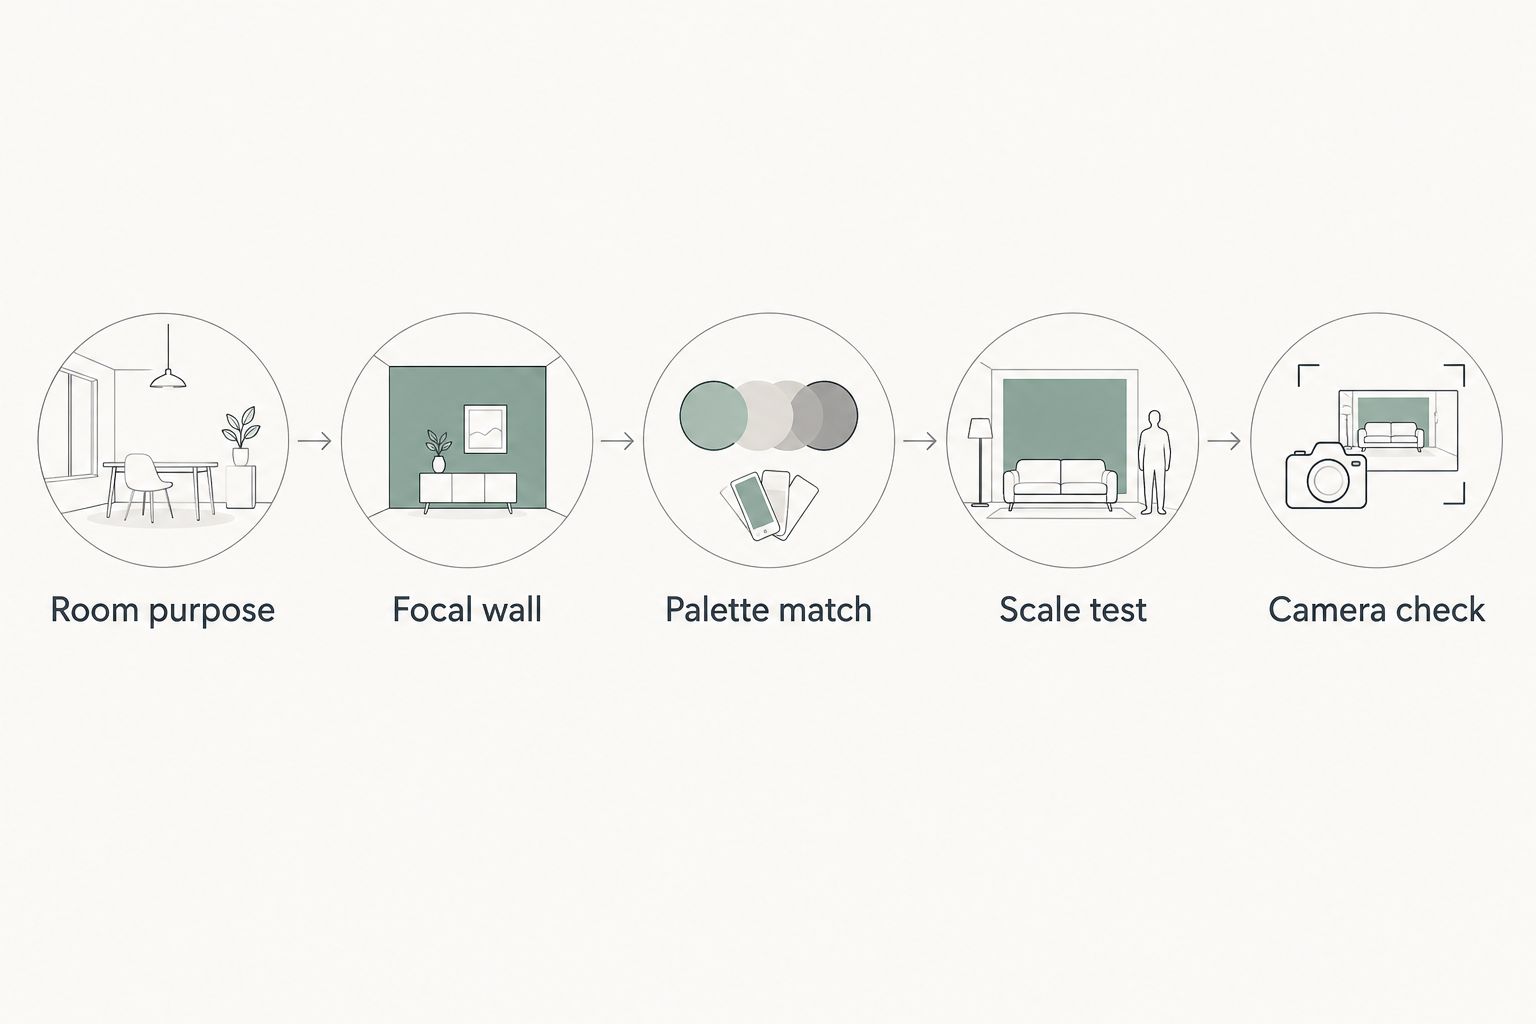
Keep your walkthrough notes short enough to use during selection. A clear brief is more useful than a long collection of inspiration images that disagree with one another.
- Name the room’s intended use in a short phrase.
- Identify the feature visitors should notice first.
- Mark walls that already contain strong architectural detail.
- Photograph the room from the doorway before adding art.
Match the existing palette
Use the finishes and furniture already present as your reference. Compare landscape colors with the flooring, upholstery, wall paint, and permanent cabinetry. Do this in the actual room rather than relying entirely on a separate screen image.
You do not need to repeat every color. Look for a print that connects with an existing tone without introducing a new decorating problem. A forest subject deserves closer scrutiny in a room where green would become an isolated accent; a warm autumn scene deserves the same scrutiny beside cool finishes.
For your 2026 shortlist, describe the palette before naming the location. “Muted greens and soft gray” gives you a practical selection filter. “A place I visited” does not.
- Record the dominant wall, floor, and upholstery colors.
- Compare candidate images beside a photograph of the room.
- Check whether the artwork introduces an unsupported accent color.
- Remove candidates that require additional accessories to make sense.
Choose a subject that supports the property
Begin with artwork you already have permission to use. Move existing landscapes between rooms and photograph each arrangement before buying replacements. This manual test separates a placement problem from a subject problem.
Barksdale Fine Art landscape wall art offers a direct selection path when your existing pieces do not fit the brief. The store sells D. Lawrence Barksdale’s photography and digital art prints, including landscape and nature subjects. You still need to choose against the room rather than treating any scenic image as interchangeable.
For a woodland direction, consider the subject represented by Mountain Stream Photography. Best for: rooms where a forest-and-water subject fits the existing palette. Its limitation is the same as any detailed woodland scene: check whether the visual texture competes with patterned furniture or a busy rug.
- Use the property’s finishes to choose between forest, mountain, and coastal subjects.
- Treat recognizable destinations as optional, not essential.
- Check detailed foliage against patterned furnishings.
- Avoid selecting a theme solely because it matches the property’s address.
Test scale before selecting the final format
Measure the available wall and the furniture beneath it. Include the artwork’s outer presentation in your planning, not just the printed image. Then make a paper template and place it on the wall using a method suitable for the wall finish.
Judge scale from the room, not from the product image. A print that looks substantial on a screen can look disconnected above furniture. Conversely, a piece that fills the available wall can crowd nearby trim or compete with a window.
Take test photographs from 3 viewing positions: the doorway, the main seating area, and the planned listing-camera location. These are checks, not a universal sizing formula. If the template fails from an important viewpoint, revise it before choosing the final piece.
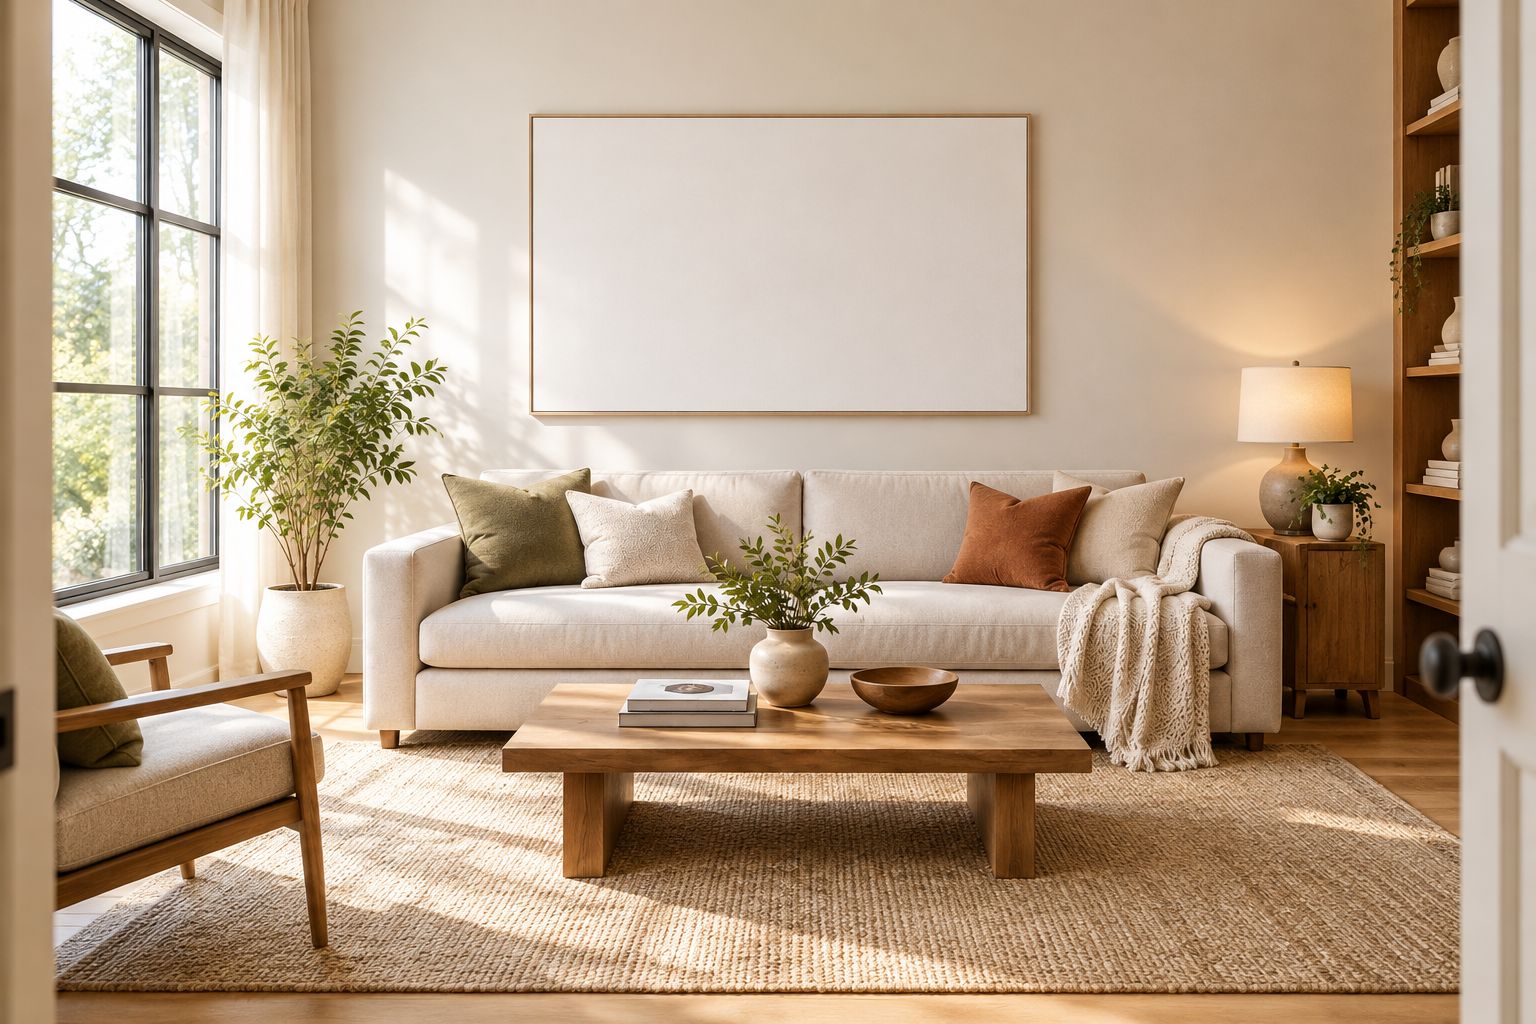
Check height and width together. A suitable width does not rescue a placement that feels crowded vertically, and a comfortable hanging height does not rescue a piece that appears unrelated to the furniture below.
- Measure the wall area after furniture placement is final.
- Include the full outer dimensions of the planned presentation.
- Test the template from the doorway and seating area.
- Keep windows, trim, controls, and access points unobstructed.
Compare landscape subjects before committing
Use a room photograph and your shortlist side by side. Compare the strongest candidate with a different landscape type, not just another image of the same subject. This reveals whether you want the specific print or simply its general color direction.
For Barksdale Fine Art landscape wall art, forest streams and waterfalls provide two subject directions worth comparing. Best for woodland rooms: Mountain Stream Photography | Scenic Forest Stream Print - Northeast Georgia Nature Art. Its description identifies a forest stream in Northeast Georgia; check the forest detail against the room’s other textures.
Best for a waterfall-focused room scheme: Pacific Northwest Waterfall Print – Columbia Gorge Photography & Scenic Waterfall Art. Its description identifies Columbia River Gorge scenery. Choose it for the subject, but reject it if the waterfall becomes a competing focal point beside the room’s strongest feature.


Product selection does not replace room testing. Confirm the exact dimensions, presentation, and installation requirements for the version you choose before adding it to your staging plan.
- Compare a forest subject with a more open landscape.
- Evaluate each candidate beside the actual room photograph.
- Check the selected version’s dimensions and presentation details.
- Keep only candidates that work without changing the room’s main furniture.
Coordinate the property without repeating every scene
Review all selected artwork together before installation. Use a simple contact sheet or arrange the room photographs in a document. Look for a shared color direction or presentation style rather than insisting on the same destination everywhere.
A coordinated property does not need identical landscapes. Repeating the same scenic motif in every room can turn a finishing choice into a theme. Let the living room, bedroom, and office retain their different purposes.
For a 2026 staging project, save a room-by-room placement record. It makes substitutions easier to assess and helps prevent a last-minute replacement from breaking the visual relationship between adjoining spaces.
- Review all room photographs together on a contact sheet.
- Choose a consistent presentation direction where appropriate.
- Vary subjects when rooms serve different purposes.
- Record each approved piece and its intended wall.
Check the installed artwork through the listing camera
Finish with photographs, not another shopping session. Check the installed piece from the angles planned for the listing, including any wide room view. Examine reflections, tilted frames, awkward cropping, and competition with the property’s main feature.
Run 2 review passes: one in the room and one through the camera. The first checks the physical arrangement; the second checks what the listing image actually shows. Do not assume they produce the same impression.
Set aside a 10-minute review window as a planning task, not a performance benchmark. Keep changes focused: reposition the artwork, adjust permitted lighting, or remove the piece if the room reads better without it.
- Photograph the artwork under the lighting planned for the listing.
- Check reflective surfaces for distracting glare.
- Confirm the camera crop does not cut through the artwork awkwardly.
- Remove pieces that draw attention away from the room’s strongest feature.
Compare landscape options for staging
The best landscape option is the one that fits the room’s role and survives the camera check. Use this table to narrow the subject before comparing individual prints.
| Option | Best for | Main advantage | Key limitation |
|---|---|---|---|
| Forest stream photography | Rooms with woodland tones and restrained patterns | Connects water and foliage in one subject | Detailed textures require checking against rugs and upholstery |
| Waterfall photography | Rooms planned around a distinct nature focal point | Provides a clearly defined subject | The waterfall can compete with another focal feature |
| Open mountain landscapes | Rooms whose brief calls for an expansive scenic subject | Gives you a horizon-led composition to assess | Strong ridgelines or contrast need testing against the furnishings |
| Coastal landscapes | Rooms with a coastal or water-oriented decorating brief | Connects directly with a sea-and-shore palette | An overt seaside theme can feel unrelated to the property |
| Autumn landscapes | Rooms with warm wood and earth-toned furnishings | Offers a warm color direction | Strong foliage colors can dominate a restrained scheme |
| Existing landscape artwork | Staging projects with suitable pieces already on hand | Lets you test placement before selecting replacements | The available subject or dimensions might not suit the chosen wall |
Common mistakes real estate stagers make
Choosing a destination instead of a composition
A recognizable place is not a staging brief. Assess the image’s colors, detail, and focal point before deciding that a local landmark belongs in the room. Location can support a choice; it should not excuse a poor fit.
Adding art to every empty wall
An empty wall is not automatically unfinished. Leave breathing room around windows, fireplaces, and strong architectural details. If artwork adds competition rather than clarity, remove it.
Using small pieces to fill a large focal wall
Do not scatter separate prints across a wall merely because they are already available. Test the arrangement as a whole with templates. If the pieces look disconnected from the furniture, change the composition rather than adding more objects.
Approving the room without checking the photograph
An artwork arrangement can look acceptable in person and fail in the listing crop. Include the camera check in your 2026 approval process. Review the actual frame, not your memory of standing in the room.
FAQ
What’s the best landscape wall art for real estate staging?
The best landscape wall art for real estate staging matches the room’s palette, scale, and intended focal point. Compare forest, mountain, coastal, and autumn subjects in a room photograph before choosing an individual print.
Is landscape photography better than abstract art for staging?
Neither landscape photography nor abstract art is automatically better for staging. Choose landscape photography when a scenic subject supports the room’s brief; choose another direction when the landscape adds unwanted detail or thematic emphasis.
How large should landscape wall art be above a sofa?
Choose the size by testing its full outer dimensions above the actual sofa. Use a paper template and check it from the doorway, seating area, and listing-camera position rather than relying on a universal size rule.
Should every staged room have matching wall art?
Staged rooms need coordination, not identical artwork. A shared palette or presentation direction can connect the property while allowing each room to have a different subject.
Can I use artwork I already own to stage a home?
Use existing artwork when its subject, condition, dimensions, and presentation fit the room. Test it in the intended location before deciding that a replacement is necessary.
Is Barksdale Fine Art a good fit for landscape staging artwork?
Barksdale Fine Art is a fit for stagers seeking D. Lawrence Barksdale’s landscape and nature photography or digital art prints. Evaluate the selected piece against the room and confirm its exact presentation details before choosing it.
Should I remove landscape art if it reflects light in listing photos?
Remove or reposition landscape art when reflections distract from the room in listing photographs. Test the piece under the planned lighting before making the final decision.
One last thing
Take a second photograph with the artwork removed. Compare the two versions at the same crop and lighting: if the bare-wall version makes the room’s purpose and strongest feature clearer, leave the artwork out. The final test is whether the room improves—not whether the wall becomes occupied.