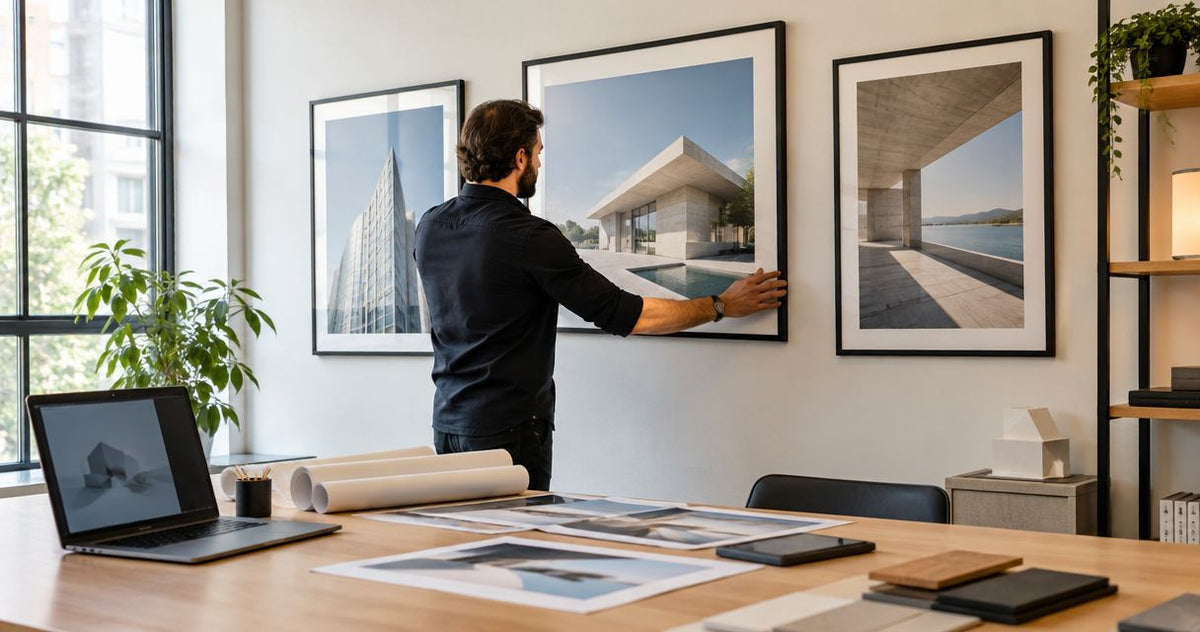
Wall art for dental and medical offices: complete 2026 guide
Dental and medical office wall art is artwork selected for patient-facing and staff spaces with the aim of creating a considered, welcoming setting without interfering with care. This 2026 guide to wall art for dental and medical offices puts patient sightlines, room function, cleaning requirements, and installation ahead of decoration alone.
- Choose wall art for dental and medical offices by room function, patient sightline, and cleaning requirements.
- Barksdale Fine Art suits office buyers seeking landscape photography, nature prints, and architectural wall art.
- Start with nature prints for shared spaces; assess each image rather than assuming every landscape feels welcoming.
- Test artwork outlines from seated and reclined positions before choosing dimensions or mounting locations.
Why wall art matters for dental and medical offices
A healthcare office asks more of artwork than a living room does. Patients view it while waiting, discussing care, or sitting in a treatment chair; staff also need walls that keep signs, equipment, and cleaning access clear.
Treat artwork as part of the room plan, not as a treatment claim. An attractive landscape does not establish a clinical benefit, and a print described as serene does not guarantee that every patient experiences it that way.
For your 2026 selection, separate the image decision from the installation decision. You can browse Barksdale Fine Art for D. Lawrence Barksdale's photography and digital art prints, then assess presentation and placement against your office's requirements.
The useful question is not simply whether you like an image. Ask whether it works from the patient's position, belongs in that particular room, and can be installed and maintained appropriately.
Plan your office artwork before you buy
Map your rooms and patient sightlines
Start with a floor plan, a phone camera, and removable paper templates. No design software is necessary. Mark where patients wait, where conversations happen, and where artwork would compete with information they need to read.
Check 3 viewing positions: standing, seated, and reclined. Use only the positions relevant to each room; a dental operatory needs a different sightline check from a reception desk. Photograph each proposed wall from those positions rather than judging it from the doorway alone.
Give every proposed placement a purpose. A reception focal point, a consultation-room background, and a corridor accent are different assignments, even when the pictures share a subject.
- Mark patient-facing walls on your floor plan.
- Photograph proposed locations from actual seating positions.
- Exclude walls needed for signs, equipment, or clinical information.
- Record furniture, doors, and fixtures that affect placement.
Define a visual brief for each room
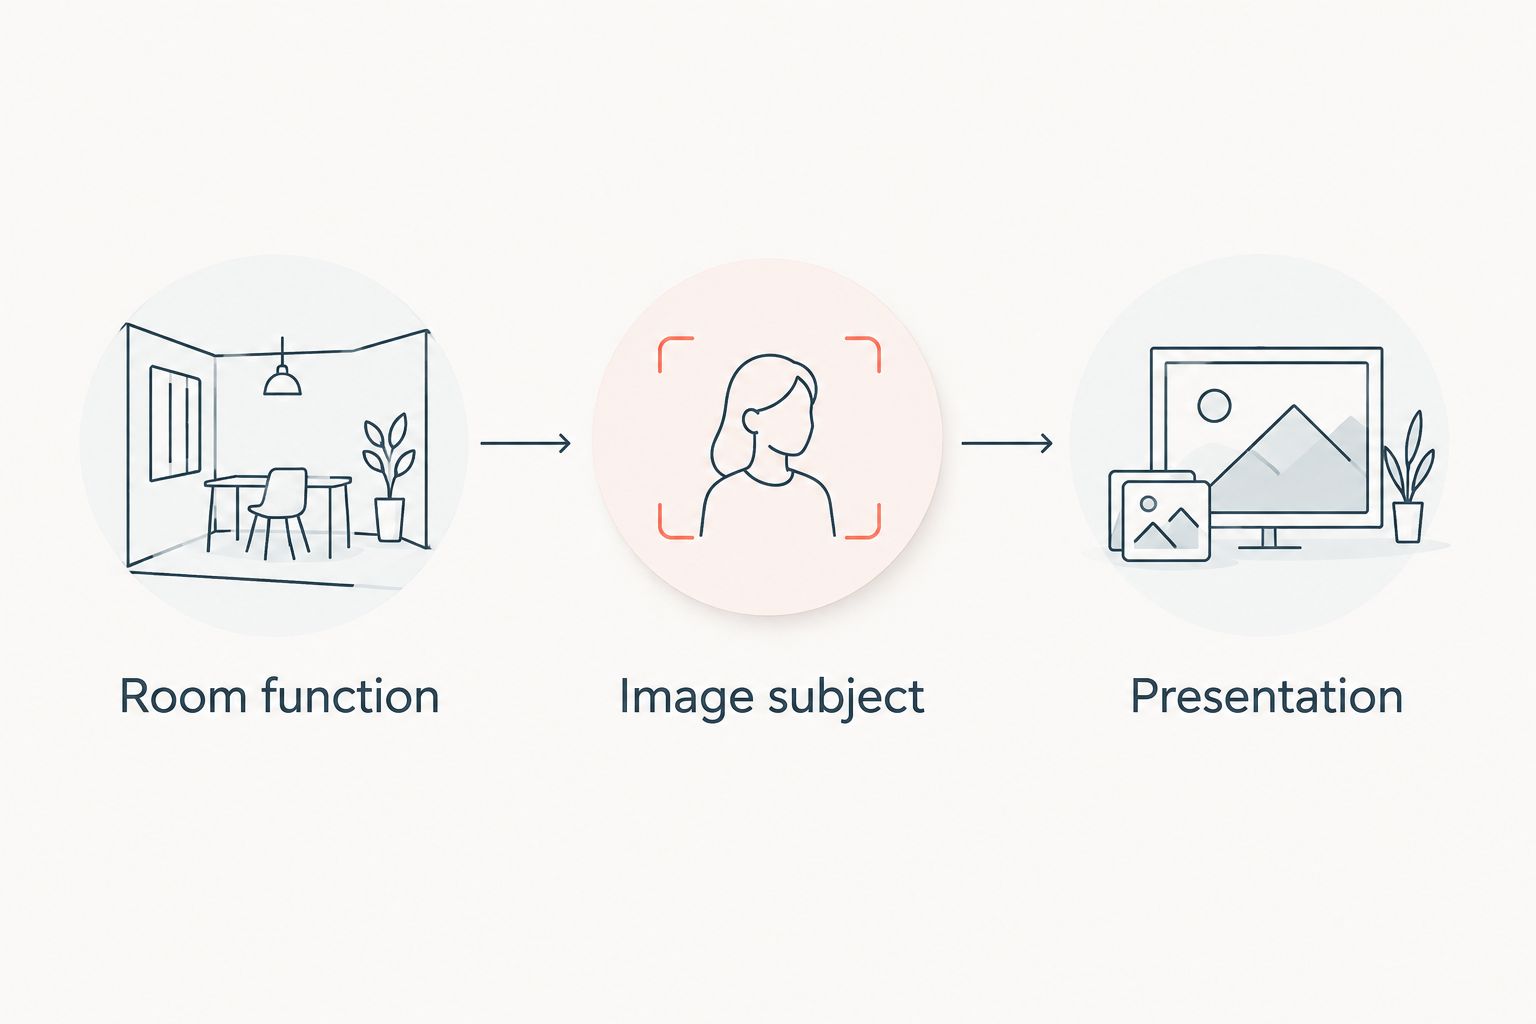
Write a short brief using three headings: Room function, Image subject, and Presentation. Describe what belongs in the space before collecting artwork options. This prevents a favorite picture from dictating an unsuitable location.
For a waiting room, prioritize imagery you are comfortable presenting to a broad audience. For a consultation room, assess whether the artwork sits quietly behind a conversation. Staff spaces offer more room for preferences that do not need to represent the practice to every visitor.
Keep the brief specific. A request for a forest scene with a readable focal point is more useful than a request for something relaxing, because staff can evaluate the former without making claims about patient response.
- Define the room function in one sentence.
- Choose an image subject suited to that function.
- Describe the intended presentation, including orientation and grouping.
- Separate patient-facing selections from staff-only preferences.
Shortlist subjects rather than matching colors alone
Begin with images you already own or can review without purchasing. Compare the subject, composition, and visual intensity against your room brief. Matching a cushion or paint sample is not enough if the image itself feels unsuitable for a patient-facing setting.
For a 2026 shortlist, consider landscapes, botanical photography, architecture, and abstract imagery as distinct options. Assess each actual image: a nature subject can be dark or visually dense, while an architectural photograph can be restrained or dramatic.
Barksdale Fine Art is best for office buyers seeking D. Lawrence Barksdale's landscape, nature, and architecture prints. The store provides a focused place to browse those subjects; your office still needs to evaluate the selected work's dimensions, presentation, and installation requirements.
- Compare the subject before comparing accent colors.
- Examine dark areas, dense detail, and prominent focal points.
- Review emotionally charged imagery before assigning it to shared spaces.
- Keep a shortlist for each room rather than one office-wide wish list.
Test scale, spacing, and glare on the actual wall
Cut paper to the proposed artwork's outside dimensions, including the frame where applicable. Tape the outline in place using a method appropriate for your wall finish. Then assess it with the furniture in its normal position.
Use 2 lighting checks: normal daytime conditions and the office's evening lighting setup. These are planning checks, not a guarantee of glare-free results. A paper template tests the footprint; assessing reflections requires a representative sample of the proposed glazing or finish.
Avoid adopting a universal hanging height. Seated patients, reclined dental patients, reception staff, and people moving along a corridor do not share the same view. Choose placement from the room's actual use, then have the installer check the mounting location.
- Include frame dimensions in your paper template.
- Check the outline from the relevant patient positions.
- Review reflections with a representative finish or glazing sample.
- Confirm doors and equipment remain clear during normal use.
Confirm cleaning and mounting requirements
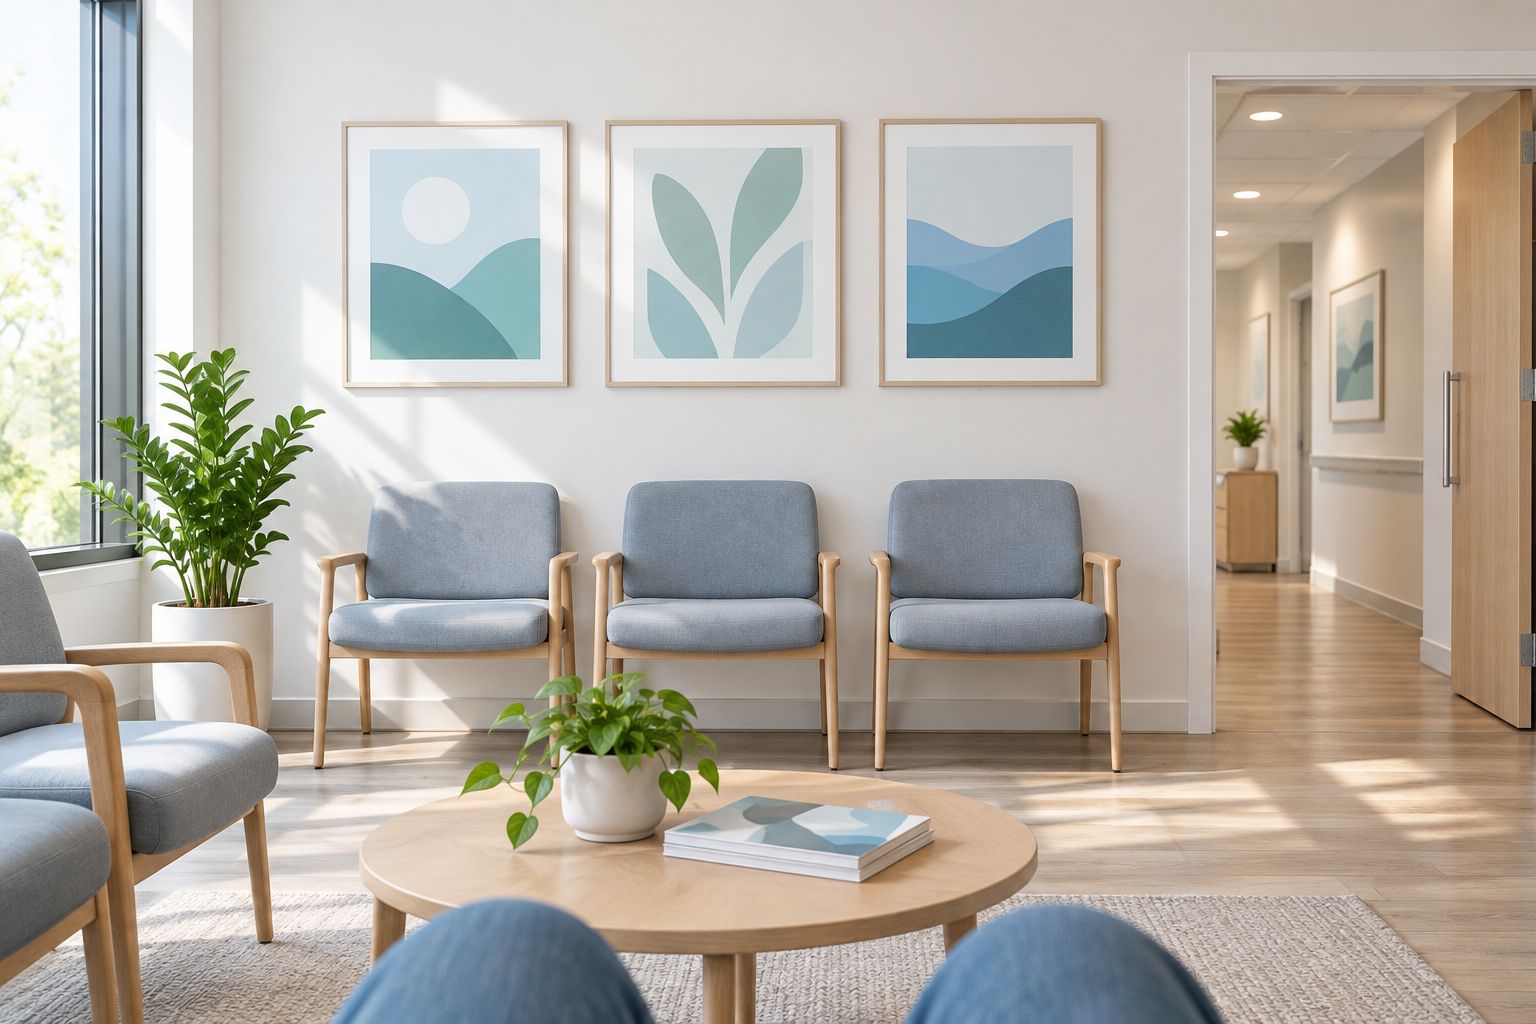
Start with your office's facilities or infection-prevention requirements, not with a seller's decorative description. Tell the responsible staff member where the artwork will go and how that area is maintained. Ask what presentation and mounting arrangements are acceptable there.
Do not assume a print is compatible with your cleaning products. Confirm the actual surface, glazing, frame, and manufacturer's care instructions. Avoid substituting a general claim about canvas, paper, or acrylic for documentation about the finished piece you intend to install.
Installation deserves the same scrutiny. The wall construction, finished artwork weight, hardware, and surrounding equipment determine the mounting plan. Keep clinical placement decisions with the people responsible for the space.
- Obtain approval for the proposed room and wall.
- Confirm care instructions for the finished presentation.
- Check cleaning-product compatibility with the relevant manufacturer.
- Have mounting hardware selected for the wall and artwork.
Pilot one room before repeating the scheme
Install 1 pilot room before extending the selection across the practice. Choose a space that represents the rooms you intend to furnish, and review it during normal operations. A reception-wall test does not settle the placement question for treatment rooms.
Record the pilot in your 2026 room plan: artwork identification, outside dimensions, placement, mounting arrangement, and care instructions. Ask staff whether it interferes with movement, signs, cleaning, or equipment access. Invite patient comments without turning them into claims of clinical effectiveness.
Keep feedback concrete. A reflection obscures the image, a frame blocks a sign, or a subject is unsuitable for a room are useful findings. An unsupported claim that the artwork reduces anxiety is not an installation criterion.
- Select a pilot room representative of the intended placement.
- Review the installation during normal office use.
- Record operational issues separately from aesthetic preferences.
- Revise the room brief before ordering additional pieces.
Document the selection and expand by room type
Use a spreadsheet to maintain the artwork schedule. Record the work, room, dimensions, presentation, care instructions, and installation details. This gives staff a reference when artwork moves or a room changes function.
Build consistency through a shared subject or presentation approach rather than forcing identical images into every room. A landscape-led waiting area and an architecture-led consultation room can belong to the same office without serving the same visual purpose.
For your 2026 expansion, recheck every new location. A successful pilot supports repeating the decision process, not copying the placement without inspection. Keep approval and installation records with the office's other facilities information.
- Maintain an artwork schedule by room.
- Record care and mounting instructions alongside each selection.
- Coordinate subjects or presentation across related spaces.
- Reassess placement whenever furniture or room functions change.
Compare artwork options for your office
Choose the option that fits the room brief, not the strongest decorative description. Barksdale Fine Art offers nature and landscape prints for the shortlist below; architecture and abstract imagery provide alternative directions when those subjects better match your space.
The limitations below are selection checks, not claims about patient outcomes. Confirm the finished dimensions and presentation separately from the subject choice.
| Option | Best for | Main advantage | Key limitation |
|---|---|---|---|
| Mountain Stream Photography - Serene Forest Landscape Art With Rustic Woodland Decor | Offices seeking forest and stream imagery | Provides a nature subject for a landscape-led room brief | Woodland imagery does not fit every interior; review the actual composition and presentation |
| Columbia River Gorge Art - Pacific Northwest Landscape Photography Print | Offices seeking Pacific Northwest landscape photography | Offers a scenic waterfall subject | A regional landscape is a subject choice, not evidence of suitability for every patient-facing room |
| Architectural photography | Consultation rooms with an architecture-led brief | Gives you buildings, structure, and geometry to work with | Strong lines or contrast need review against nearby signs and furnishings |
| Abstract imagery | Offices seeking nonrepresentational artwork | Does not depend on recognizing a place or subject | Ambiguous forms and visual intensity require image-by-image review |
For the forest-and-stream brief, the Mountain Stream Photography print is the relevant starting point. For a Pacific Northwest waterfall brief, consider the Columbia River Gorge print. Neither subject choice replaces the cleaning, glare, and mounting checks above.


Common mistakes dental and medical offices make
- Choosing from the doorway instead of the patient chair. A composition that works while standing can sit outside a seated or reclined patient's view. Review the intended position before settling placement.
- Treating every nature image as automatically welcoming. Forests, coastlines, and wildlife differ in mood and detail. Evaluate the individual image rather than relying on the category label.
- Ordering before approving the finished presentation. Selecting a photograph does not resolve questions about glazing, cleaning compatibility, frame construction, or mounting. Complete those checks before committing.
- Using artwork where information needs priority. Do not let a decorative grouping compete with directions, room identification, or clinical notices. Give each wall a clear job.
- Repeating a reception scheme in treatment rooms. Patient positions and room operations differ. Carry over the selection process, then reassess the image and placement for each room type.
FAQ
What's the best wall art for dental and medical offices?
The best wall art fits the room's function, patient sightlines, and cleaning requirements. Start by comparing nature, landscape, architectural, and abstract imagery against a written room brief rather than choosing by color alone.
Is nature photography better than abstract art for a waiting room?
Neither category is automatically better for every waiting room. Nature photography provides a recognizable subject, while abstract art offers a nonrepresentational direction; review the actual image for visual intensity and suitability.
Where should artwork go in a dental treatment room?
Place artwork only after checking the reclined patient's view and the room's equipment, signs, and cleaning access. Have the office's responsible staff approve the location and the installer confirm the mounting arrangement.
What size artwork should I choose for a medical waiting room?
Choose dimensions by testing a full-size paper template on the actual wall. Include the frame in the outline and assess it from patient seating, reception positions, and relevant circulation routes.
Can framed prints be used in clinical spaces?
Use framed prints only where your office approves the location, presentation, and care requirements. Confirm cleaning compatibility and mounting details for the finished piece rather than assuming every frame or glazing material is suitable.
Does wall art reduce patient anxiety?
Do not promise that a particular print reduces patient anxiety without evidence supporting that claim. Select artwork for its suitability to the setting and keep decorative decisions separate from clinical outcome claims.
What does Barksdale Fine Art offer for office decor?
Barksdale Fine Art sells D. Lawrence Barksdale's fine art photography and digital art prints, including landscapes, nature, architecture, western, wildlife, and abstract wall art. Choose a subject for your room brief, then confirm the selected work's presentation and installation requirements.
One last thing
Test the wall while seated before approving the picture while standing. That simple change in viewpoint belongs in your 2026 purchasing checklist because it tests the placement your patients will actually experience.
Use Barksdale Fine Art for a subject shortlist, then let the room brief decide. A well-chosen image in the right location is a better starting point than an office-wide order made before checking a single patient sightline.